
- Published on, Time to read
- 🕒 6 min read
From Backend to Frontend: Full Stack Java Apps with Spring Boot and Vaadin Flow
- Authors

- Name
- Mahesh Babu
From Backend to Frontend: Full Stack Java Apps with Spring Boot and Vaadin Flow

In an era where numerous JavaScript frameworks for UI development abound, you might wonder why there’s a need for yet another UI framework. However, consider this: What if I were to reveal that you can harness the power of a well-established language like Java to craft an entire full-stack application?
Introducing Vaadin Flow a unique full-stack framework that lets you build web apps without writing HTML or JavaScript. Much like building a traditional desktop application, you compose the UI from components, connect it to a data source, and react to user events. The UI runs on the JVM without the need to expose REST services or come up with other ways to move data to the browser.
Flow apps are rendered in the browser as standard HTML. They work in all modern browsers and devices, no plugins are required. Vaadin offers a rich collection of attractive UI elements, including form inputs, dialogs, data grids, and visualizations. You have the flexibility to enhance these components and construct custom compositions right within your Java code. Furthermore, everything is constructed using open web standards and is compatible with all contemporary web browsers. You can read more about Vaadin Flow here.
Let’s dive right in and build a straightforward to-do application to showcase how simple it is to create an app using vaadin flow.
Step 1: Getting started
There are multiple approaches to begin the process. You can either include the Maven dependency for Vaadin directly into your project, or you can visit Vaadin Starter to obtain the starter project.
In our case, we are going to download the project from Vaadin Starter with some custom presets. Download 👉 here.
Step 2: Setup environment and launch the app
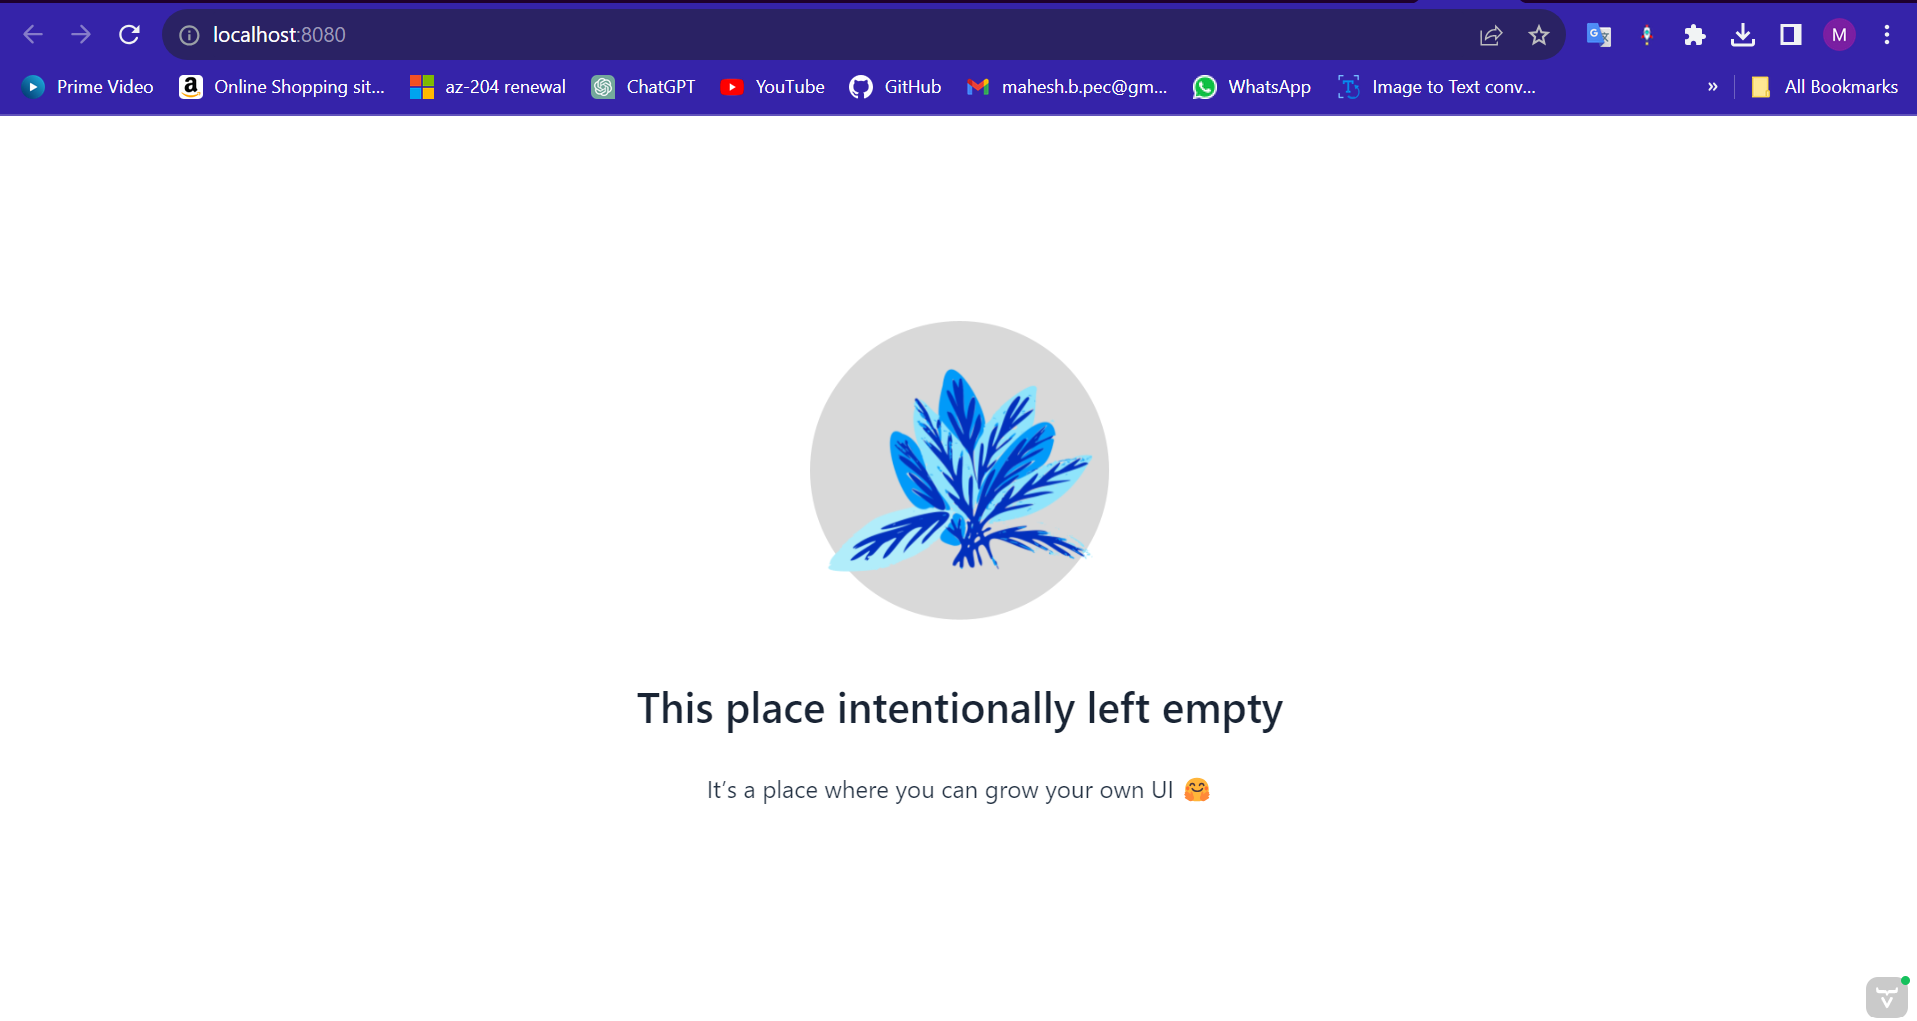
Feel free to use your preferred code editor; in my case, I’m using IntelliJ. After importing the downloaded project, make sure to install all the necessary dependencies and launch the application, It will open a page something like this :
Now let's explore the folder structure in our project, you can see that it's a bit different from your traditional spring boot application.
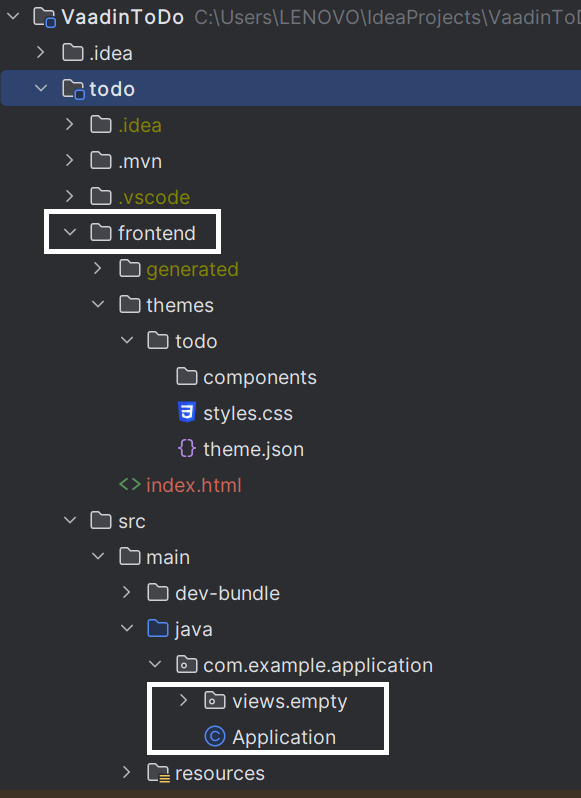
There is a frontend folder that contains the components and styles that we can use in the UI layer of the project. The style.css and theme.json are the global styles that are applied on the todo theme under the theme folder. You can have multiple themes and can switch between them. Now coming down we can see that there are views, these are basically where we add the UI views/routes, etc.
@SpringBootApplication
@Theme(value = "todo")
public class Application implements AppShellConfigurator {

    public static void main(String[] args) {
        SpringApplication.run(Application.class, args);
    }
}
If you take a look at the Application.java file we can see that our application is implementing AppShellConfigurator which is an interface to configure application features and the host page where the Vaadin application is running. It automatically configures the index.html page. The Theme annotation can be used to choose the theme that we want to use configured in the themes folder.
Step 3: Configuring the application
Let's remove all the existing views and add a new view called TodoView.java
import com.vaadin.flow.component.html.H1;
import com.vaadin.flow.component.orderedlayout.VerticalLayout;
import com.vaadin.flow.router.Route;

@Route("")
public class TodoView extends VerticalLayout {

    TodoView() {
        add( new H1("Hello world!"));
    }
}
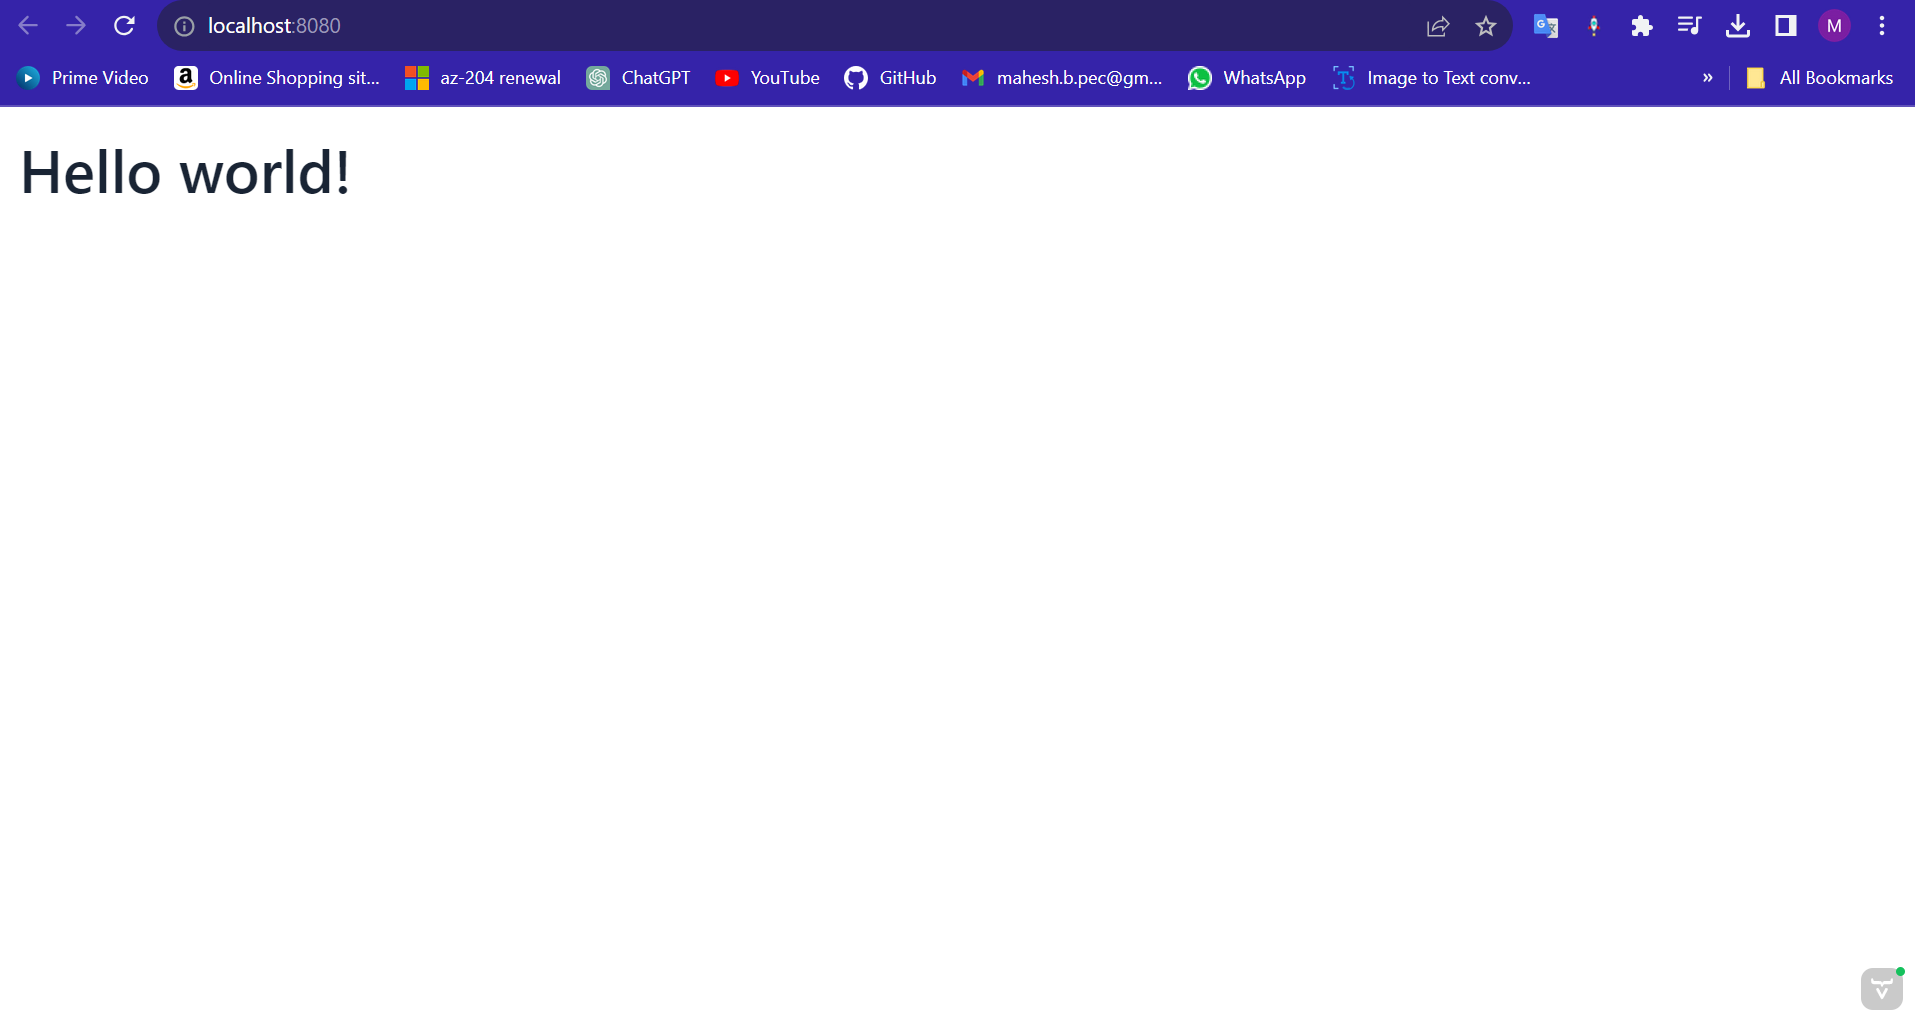
Here we extend the VerticalLayout class from vaadin. Vertical Layout places components top-to-bottom in a column. By default, it has 100% width and undefined height, meaning its width is constrained by its parent component, and its height is determined by the components it contains. The Route tag sets the path for the page/view since we are leaving it blank it is the default page. Now start the application and we can see that the page has an H1 tag with Hello world
Let's start creating the Todo app now. First, let's configure the h2 database and spring starter data JPA as a maven dependency in our project. We are going to be saving all the data in an in-memory H2 database.
     <dependency>
                <groupId>org.springframework.boot</groupId>
                <artifactId>spring-boot-starter-data-jpa</artifactId>
            </dependency>
            <dependency>
                <groupId>com.h2database</groupId>
                <artifactId>h2</artifactId>
                <scope>runtime</scope>
            </dependency>
We can configure the h2 database in the application.properties file.
    spring.datasource.url=jdbc:h2:mem:todo
    spring.datasource.driverClassName=org.h2.Driver
    spring.datasource.username=todo
    spring.datasource.password=todo
    spring.jpa.database-platform=org.hibernate.dialect.H2Dialect
Now we can start adding the data classes and create the view, Refer to the files below:
package com.example.application;

import jakarta.persistence.Entity;
import jakarta.persistence.GeneratedValue;
import jakarta.persistence.Id;

@Entity
public class ToDo {

    @Id
    @GeneratedValue
    private  Long id;
    private String task;
    private boolean completed;

    public ToDo(String task) {
        this.task = task;
    }

    public ToDo() {
    }

    public Long getId() {
        return id;
    }

    public void setId(Long id) {
        this.id = id;
    }

    public String getTask() {
        return task;
    }

    public void setTask(String task) {
        this.task = task;
    }

    public boolean isCompleted() {
        return completed;
    }

    public void setCompleted(boolean completed) {
        this.completed = completed;
    }
}
package com.example.application;

import org.springframework.data.jpa.repository.JpaRepository;

public interface ToDoRepository extends JpaRepository<ToDo,Long> {
}
package com.example.application.views;

import com.example.application.ToDo;
import com.example.application.ToDoRepository;
import com.vaadin.flow.component.Component;
import com.vaadin.flow.component.Key;
import com.vaadin.flow.component.button.Button;
import com.vaadin.flow.component.button.ButtonVariant;
import com.vaadin.flow.component.checkbox.Checkbox;
import com.vaadin.flow.component.html.H1;
import com.vaadin.flow.component.orderedlayout.HorizontalLayout;
import com.vaadin.flow.component.orderedlayout.VerticalLayout;
import com.vaadin.flow.component.textfield.TextField;
import com.vaadin.flow.router.Route;


@Route("")
public class TodoView extends VerticalLayout {

    private ToDoRepository repo;

    public TodoView(ToDoRepository repo) {
        this.repo = repo;

        var task = new TextField();
        var button = new Button("Add");
        var todos = new VerticalLayout();

        todos.setPadding(false);
        button.addThemeVariants(ButtonVariant.LUMO_PRIMARY);
        button.addClickShortcut(Key.ENTER);
        button.addClickListener(click -> {
            var todo = repo.save(new ToDo(task.getValue()));
            todos.add(createCheckbox(todo));
            task.clear();
        });

        repo.findAll().forEach(todo -> todos.add(createCheckbox(todo)));

        add(
                new H1("Todo"),
                new HorizontalLayout(task, button),
                todos
        );
    }

    private Component createCheckbox(ToDo todo) {
        return new Checkbox(todo.getTask(), todo.isCompleted(), e -> {
            todo.setCompleted(e.getValue());
            repo.save(todo);
        });
    }
}
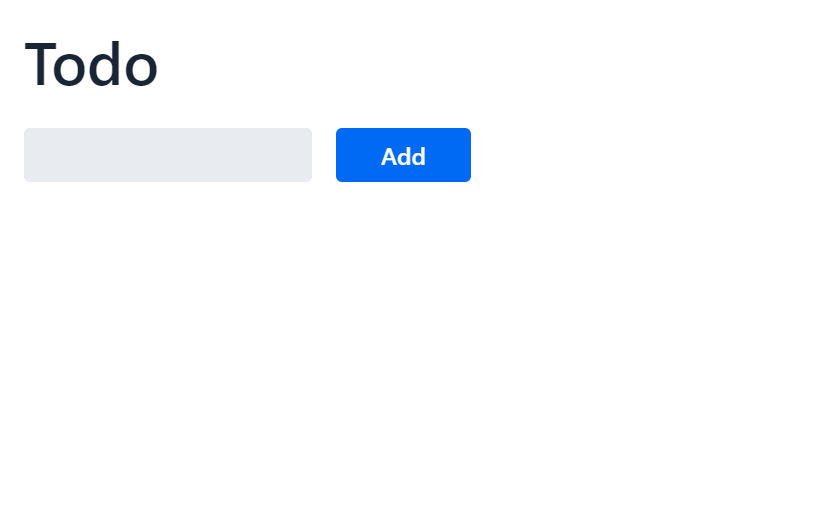
In the above TodoView.java we are configuring the view. Here we have:
A Text box for entering the task,
An ADD button to add the task which also has a keyboard listener that listens for the ENTER key press to add the task when it's pressed.
A vertical layout with a checkbox to show all the to-do tasks and a checkbox click marks the task as completed.
Once we run the application we get a view like this
Once we start adding tasks, the view is rendered like this :
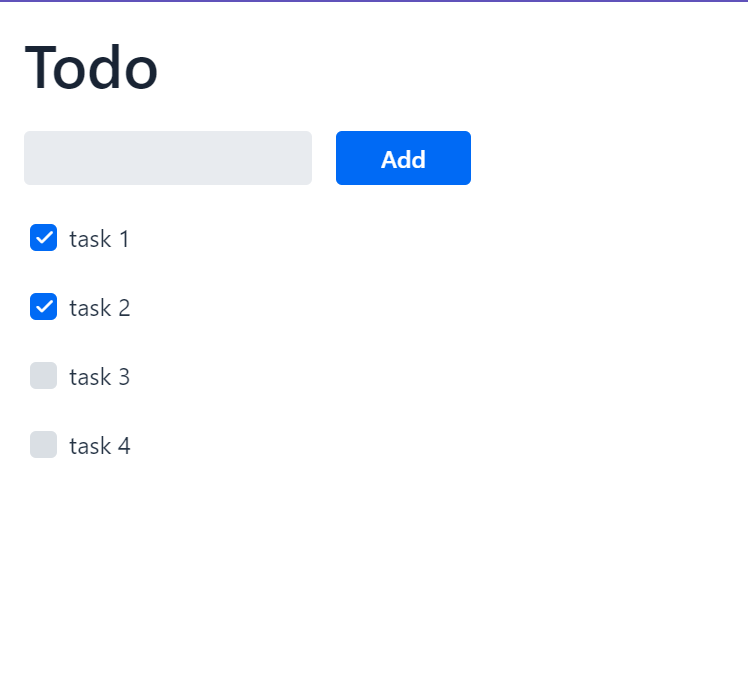
You can check the full source code here 👇 GitHub - MaheshBabu11/VaadinToDo: This is a demo project using vaadin flow in Spring boot.
In conclusion, we have successfully developed a full-stack application using the powerful combination of Java, Vaadin Flow for the front end, and Spring Boot for the back end. This approach allows developers to harness the capabilities of Java throughout the entire application, from creating visually appealing user interfaces to handling the back-end logic and data management. The result is a seamless and efficient full-stack solution that can be extended, customized, and deployed to meet a wide range of web application needs.
For more info, you can refer to these resources :
Happy Coding 😊!!!